[ Celery ] Asynchronous Tasks in Python - Getting Started With Celery (1/4)
本文為影片筆記,文中內容與影片不一定完全相同。
Celery 有三點需要注意:
安裝 Celery:
測試 Celery:
到目前為止 Celery 應該有初步的認識了,雖然理解好像不一定正確。
我使用的是 Redis 做為緩存器,所以 RabbitMQ 我就沒有用了。
我使用的 IOS 的系統,影片中使用的是 Ubuntu 的終端機 ?所以 Windows 的用戶有沒有這麼容易我就不知道了。
Asynchronous Tasks in Python - Getting Started With Celery (1/4)
Asynchronous Tasks in Python - Celery Backend Tutorial (2/4)
Asynchronous Task in Flask Using Celery (3/4)
Flask, Celery & SQLAlchemy Example (4/4)
Celery 有三點需要注意:
- Client app: Your app is going to have something that I wants to call asynchronously(異步).
- Message queue: Place it on the message queue.
- Celery: App, message and celery are running.
$ apt-get install rabbitmq-server  # 安裝
$ server rabbitmq-server start  # 啟動
$ rabbitmqctl status  # 檢視狀態
安裝 Redis:
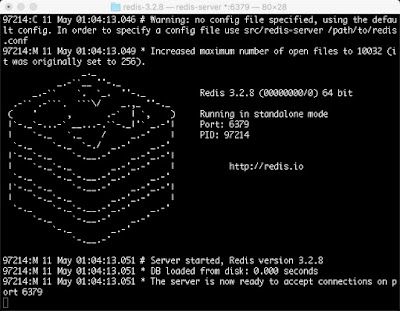
我使用的是Redis,所以我就沒有安裝 RabbitMQ 了。Redis安裝也很簡單,想使用 Redis 請參考官網。
Redis 的執行畫面
$ pip3 install celery建立 App:
# tasks.py

from celery import Celery

# 使用 RabbitMQ:
# app = Celery('tasks', broker='amqp://localhost//')

# 使用 Redis:
app = Celery('tasks', broker='redis://localhost:6379/0')

@app.task  # 建立 Celery 可添加的任務任務
def reverse(string):
 return string[::-1]
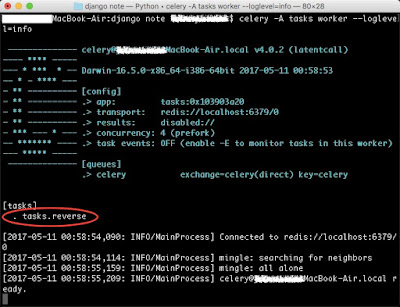
啟動 Celery:$ celery -A tasks worker --loglevel=info
Celery 的執行畫面,並發現可以加入行程中的任務。
>>> from tasks import *
>>> reverse.delay('Anthony')  # delay 方法, Celery 將會將該任務添加至序列中
你將會在 Redis 或 RabbitMQ 的終端機中看到[2017-05-11 01:02:48,554: INFO/MainProcess] Received task: tasks.reverse[5595632b-71bf-4592-99ad-ace48445f402] [2017-05-11 01:02:48,566: INFO/PoolWorker-2] Task tasks.reverse[5595632b-71bf-4592-99ad-ace48445f402] succeeded in 0.003996916930191219s: 'ynohtnA'
到目前為止 Celery 應該有初步的認識了,雖然理解好像不一定正確。
我使用的是 Redis 做為緩存器,所以 RabbitMQ 我就沒有用了。
我使用的 IOS 的系統,影片中使用的是 Ubuntu 的終端機 ?所以 Windows 的用戶有沒有這麼容易我就不知道了。
Asynchronous Tasks in Python - Getting Started With Celery (1/4)
Asynchronous Tasks in Python - Celery Backend Tutorial (2/4)
Asynchronous Task in Flask Using Celery (3/4)
Flask, Celery & SQLAlchemy Example (4/4)
留言
張貼留言